

All law firm marketers know the importance of the Google Workspace for day-to-day activity.
Google brings together a comprehensive suite of tools for productivity and content creation, as well as giving marketers ready access to Google Analytics and Google Business Profile. This makes it a go-to platform for strategy, planning and reporting.
From speaking with firms, we’ve found that many people assume they need to create a separate Gmail account to access these services, not their work email.
First, let’s respond to a common misconception:
Do I need to create a separate Gmail account alongside my work email?
No, you don’t.
Some firms do allow employees to set up a separate Gmail account. While, technically this is fine, it does make keeping tabs on who has access difficult.
Instead, you can link your work email address to a Google account which will make access management easier.
This is a straightforward process; here’s a step-by-step guide on how to do it.
How to link your work email to a Google account

Step 1: Click sign up and create a ‘personal use’ account
You might be inclined on the sign-up page to select a ‘business’ or ‘work’ account, but that takes you down a separate rabbit hole of Google Workspace.
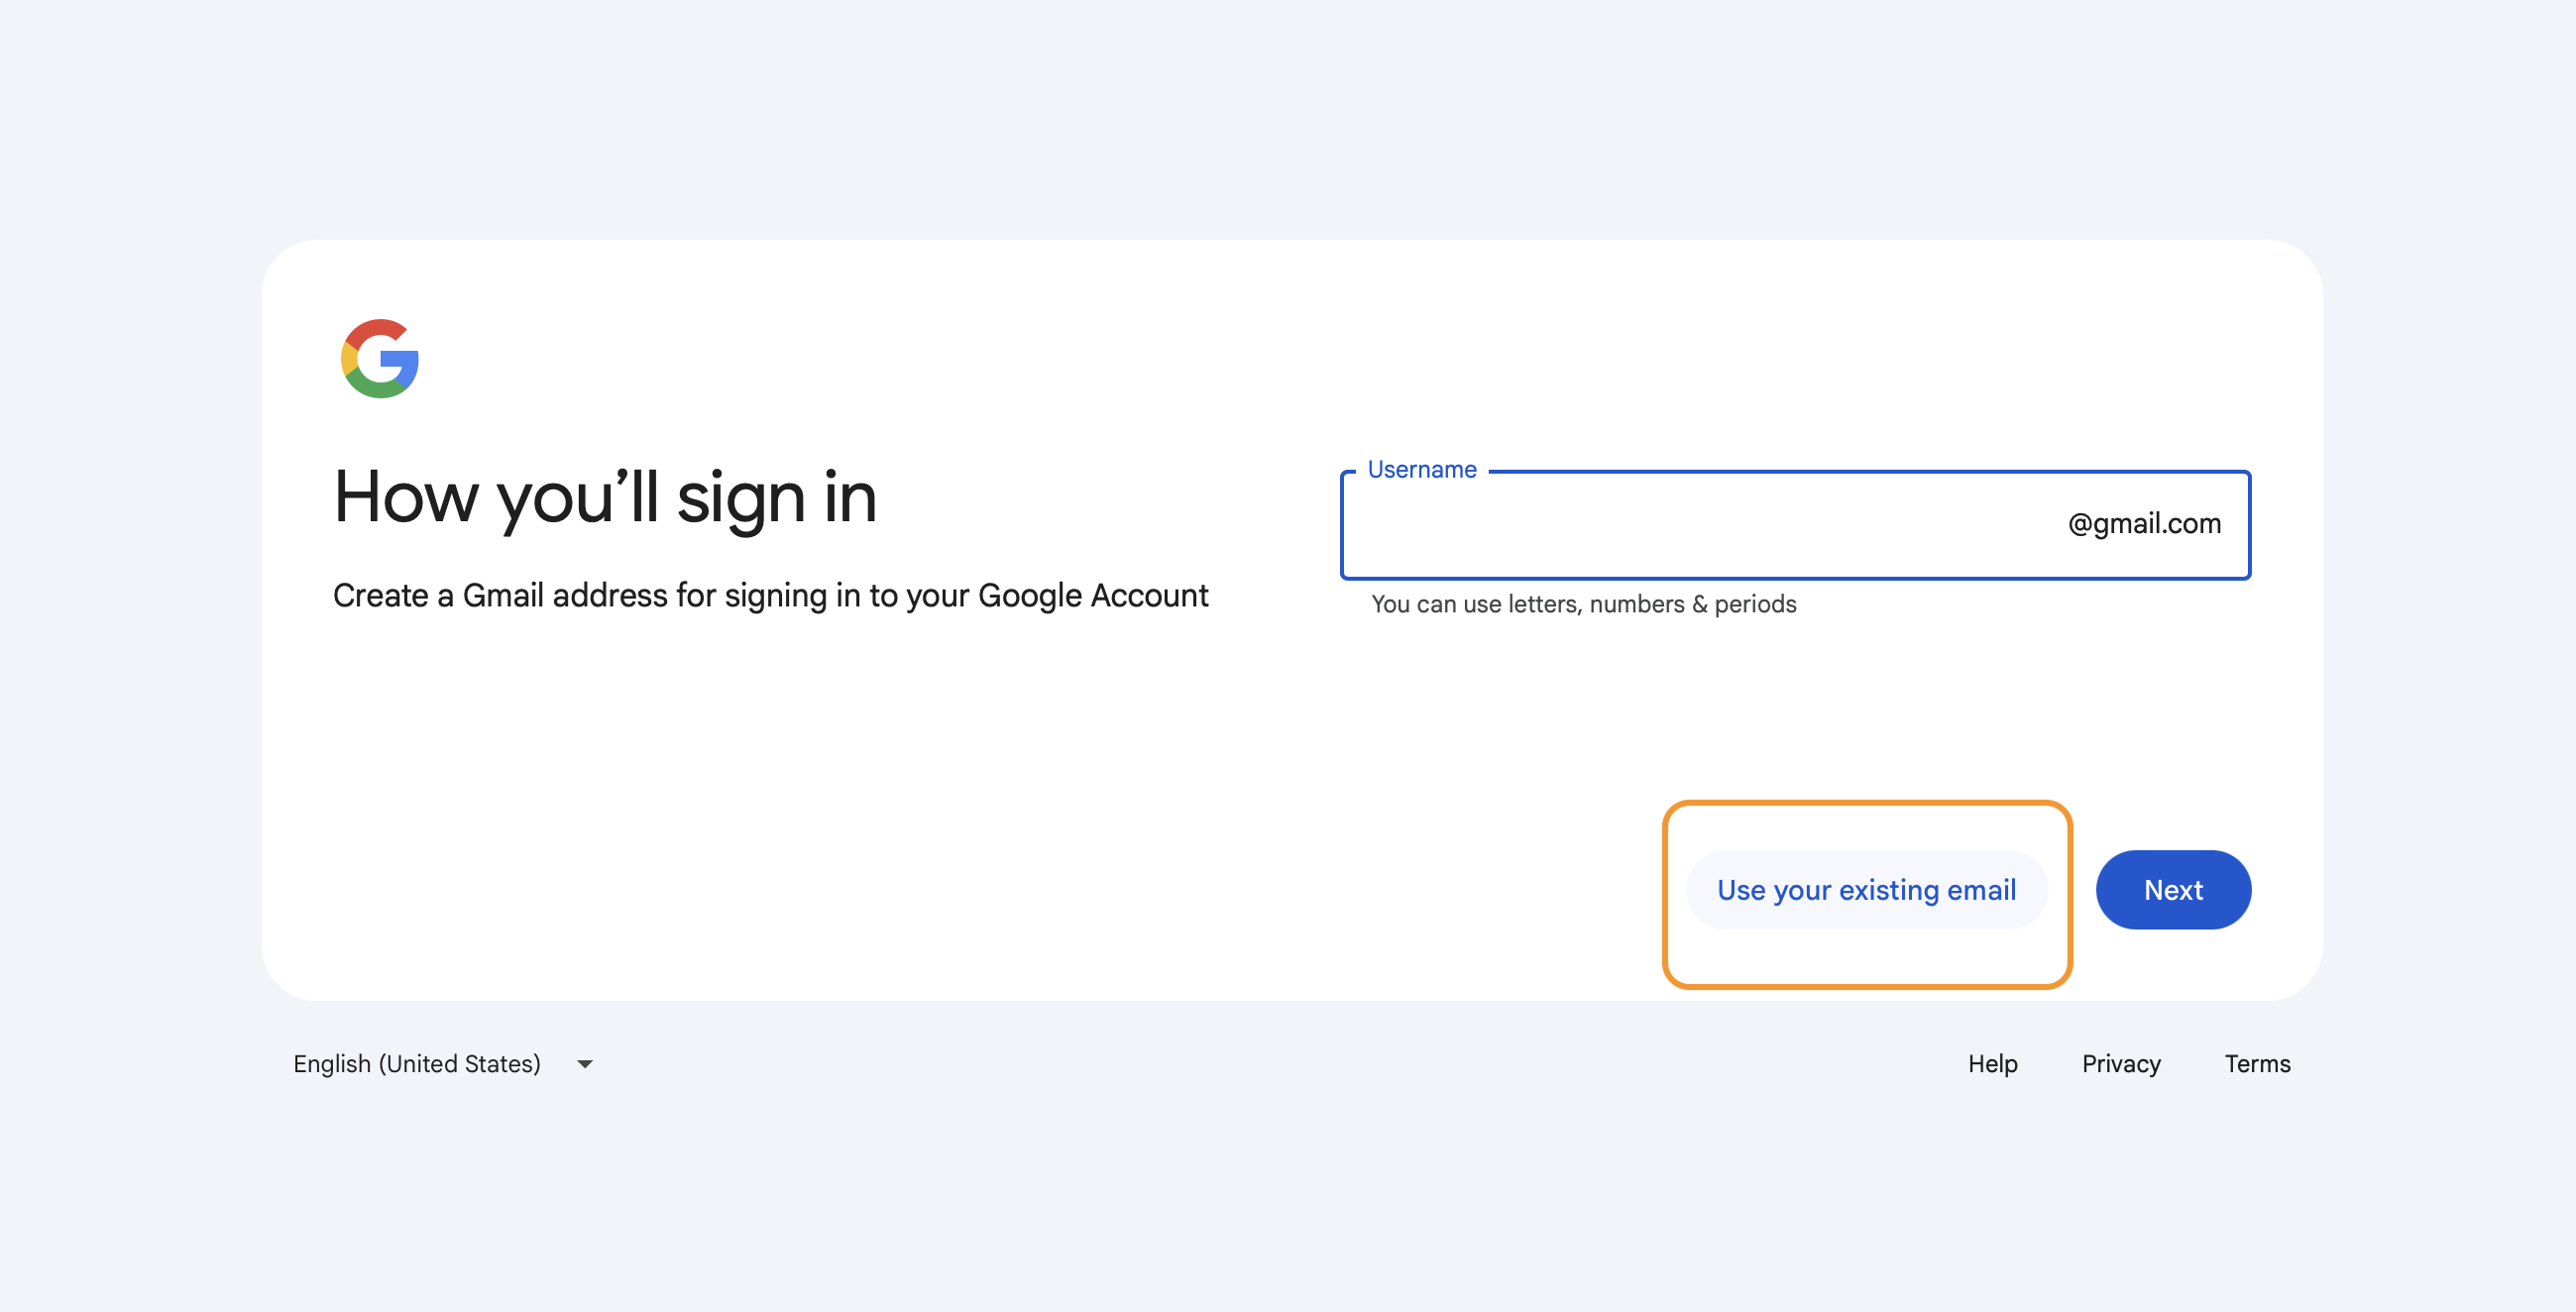
Step 2: Click ‘use your existing email’
You will later be prompted to add your work email address.
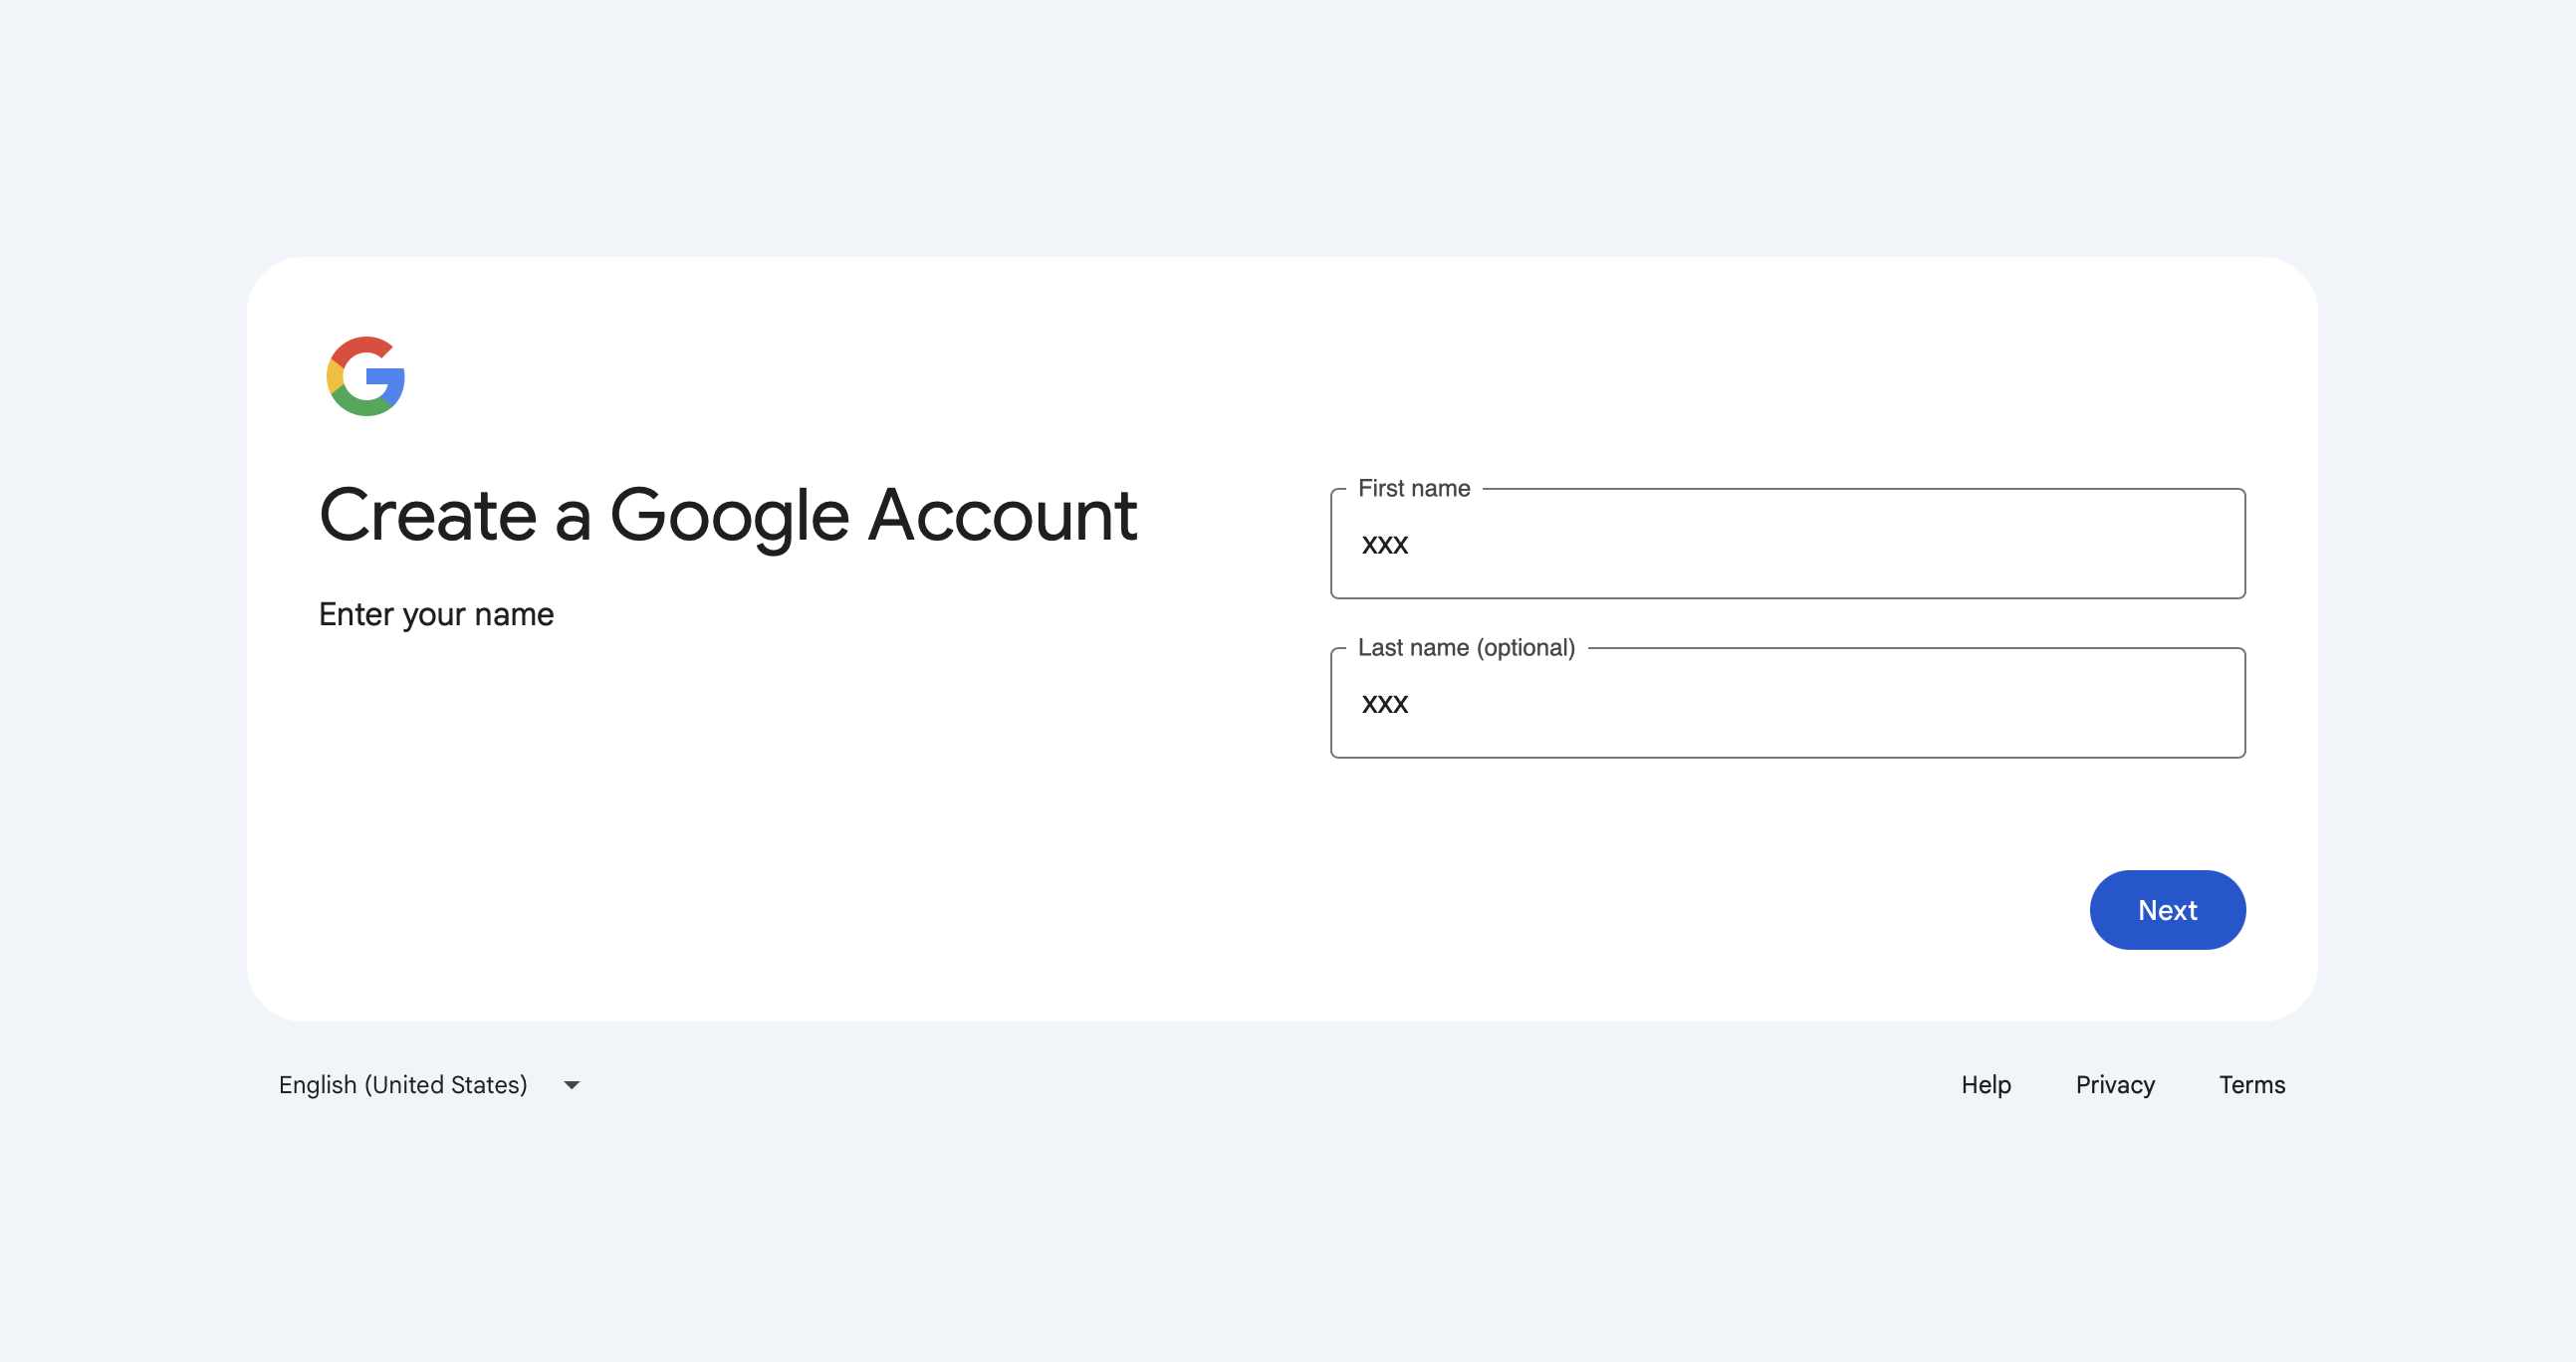
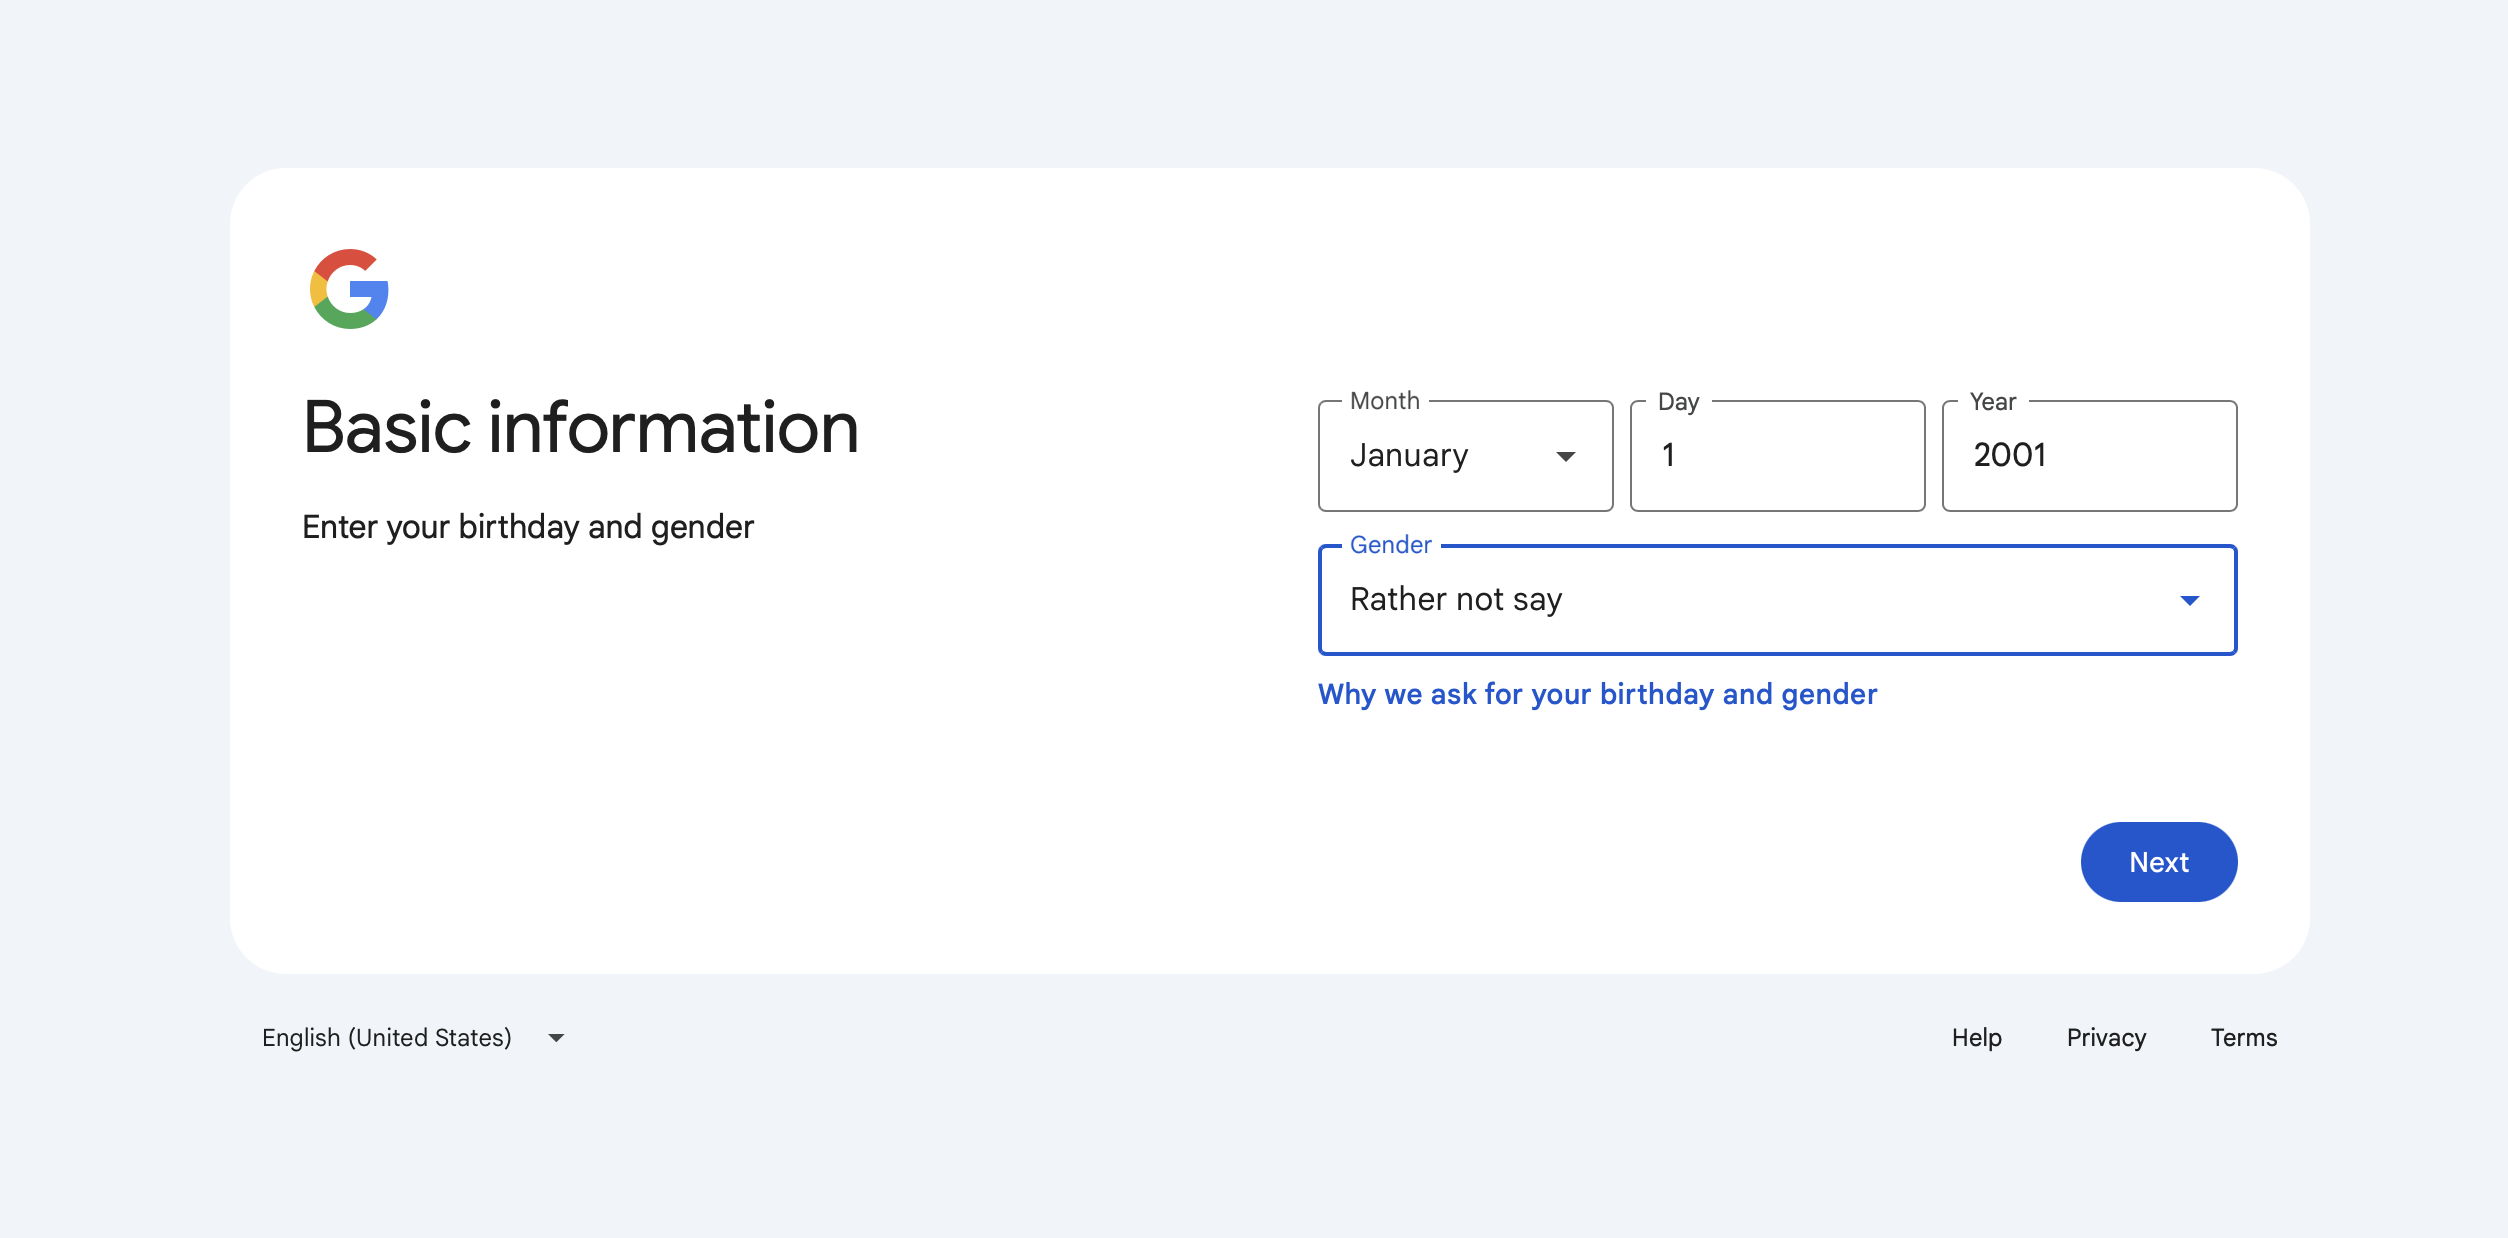
Step 3: Add your details
Add your personal details as required.
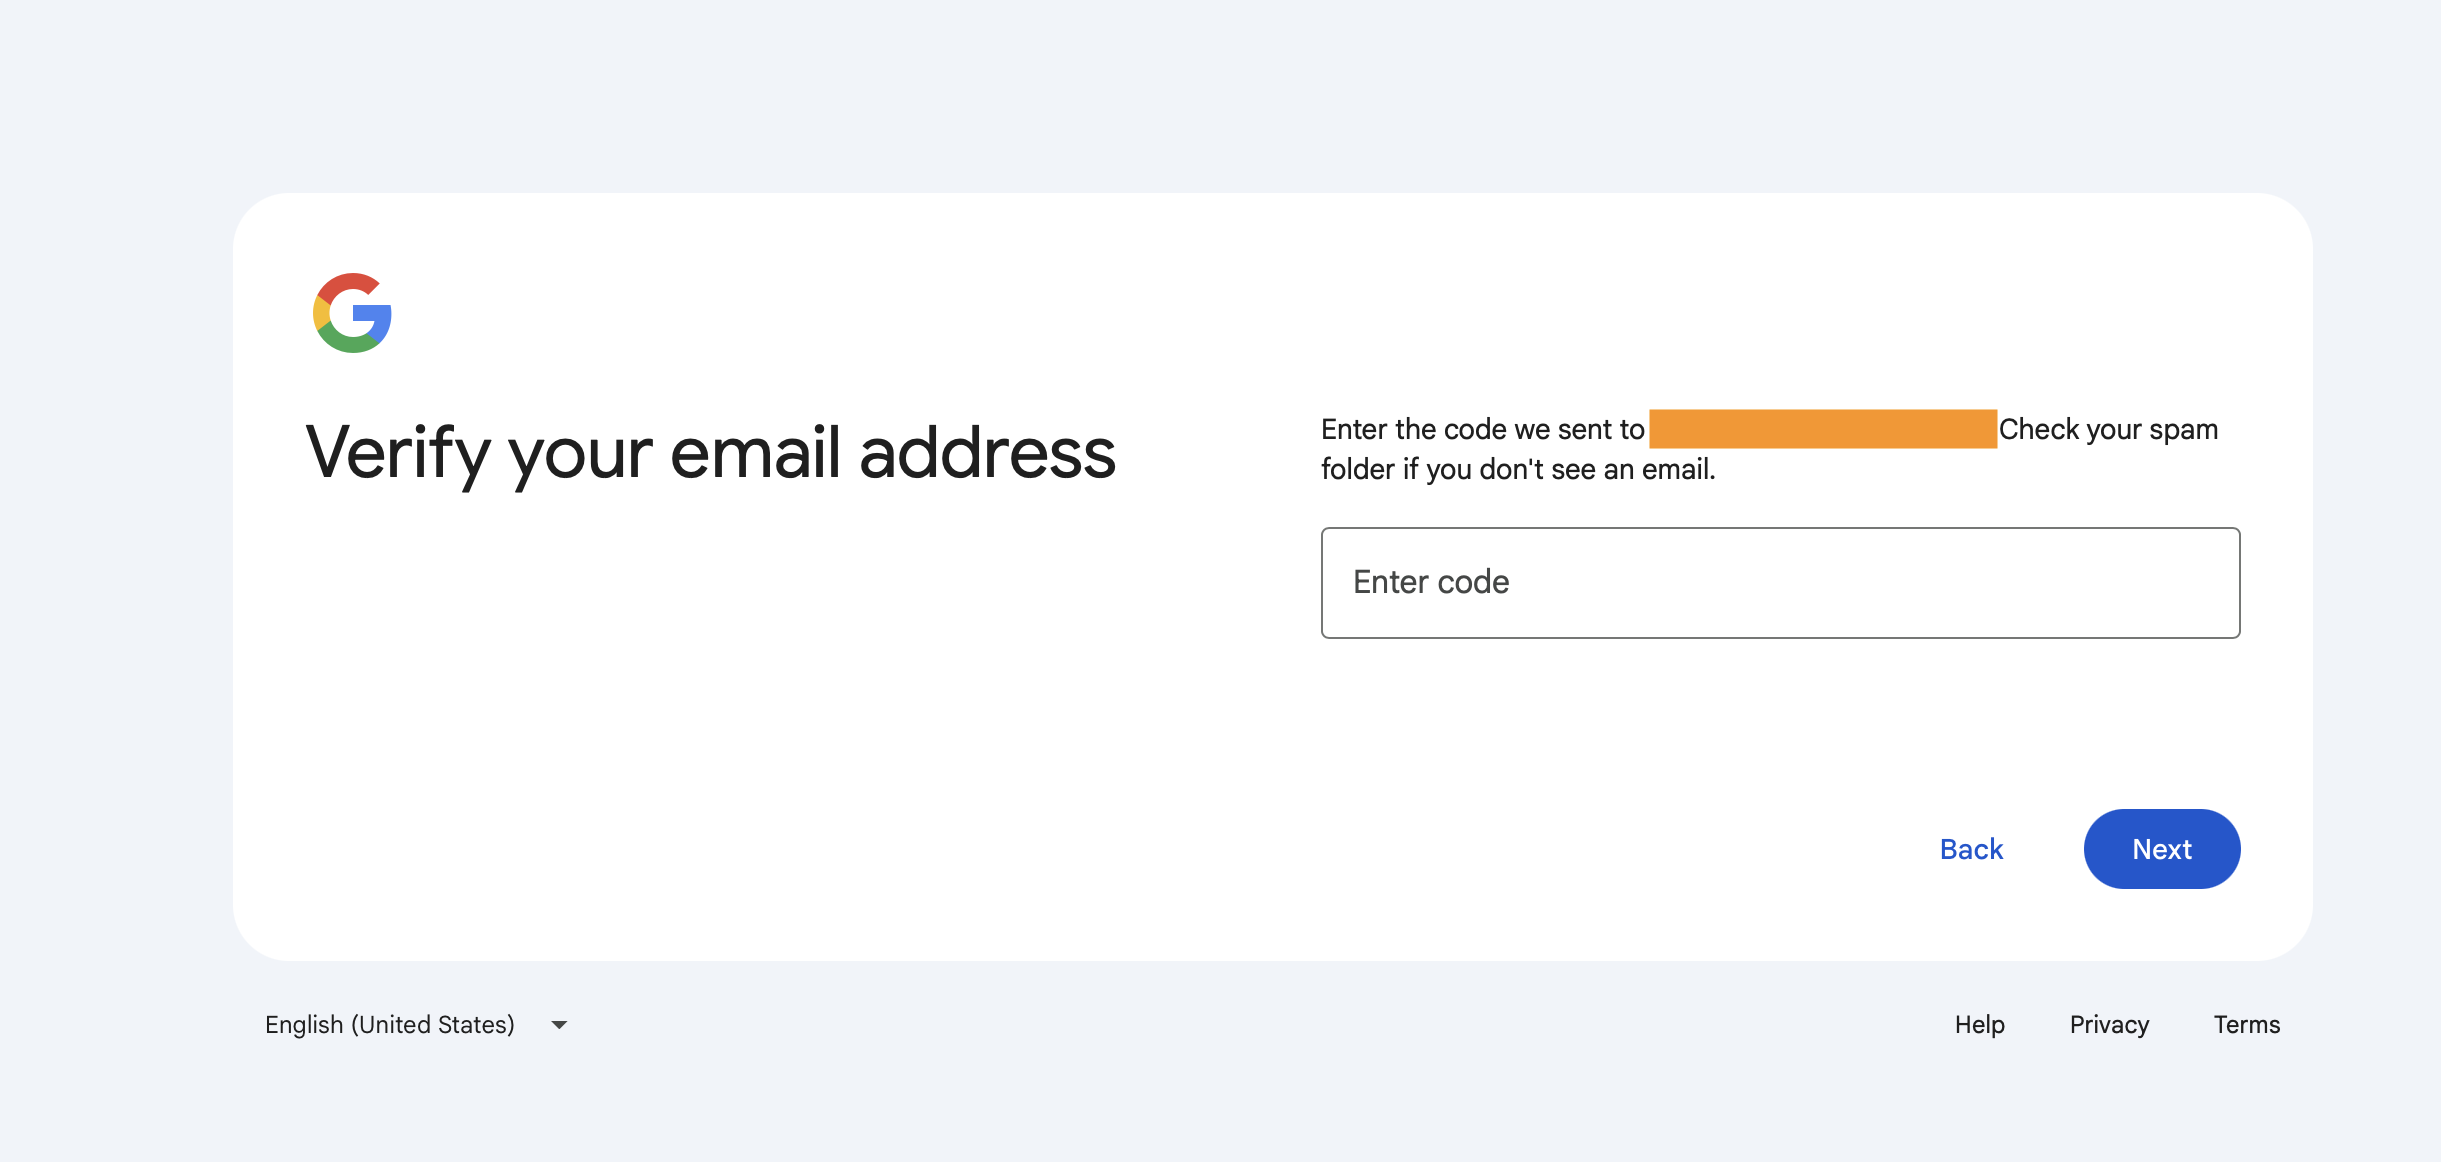
Step 4: Add your work email address
Add your work email address in the bar and authenticate it via a code sent to your inbox. Your account should now be set up.
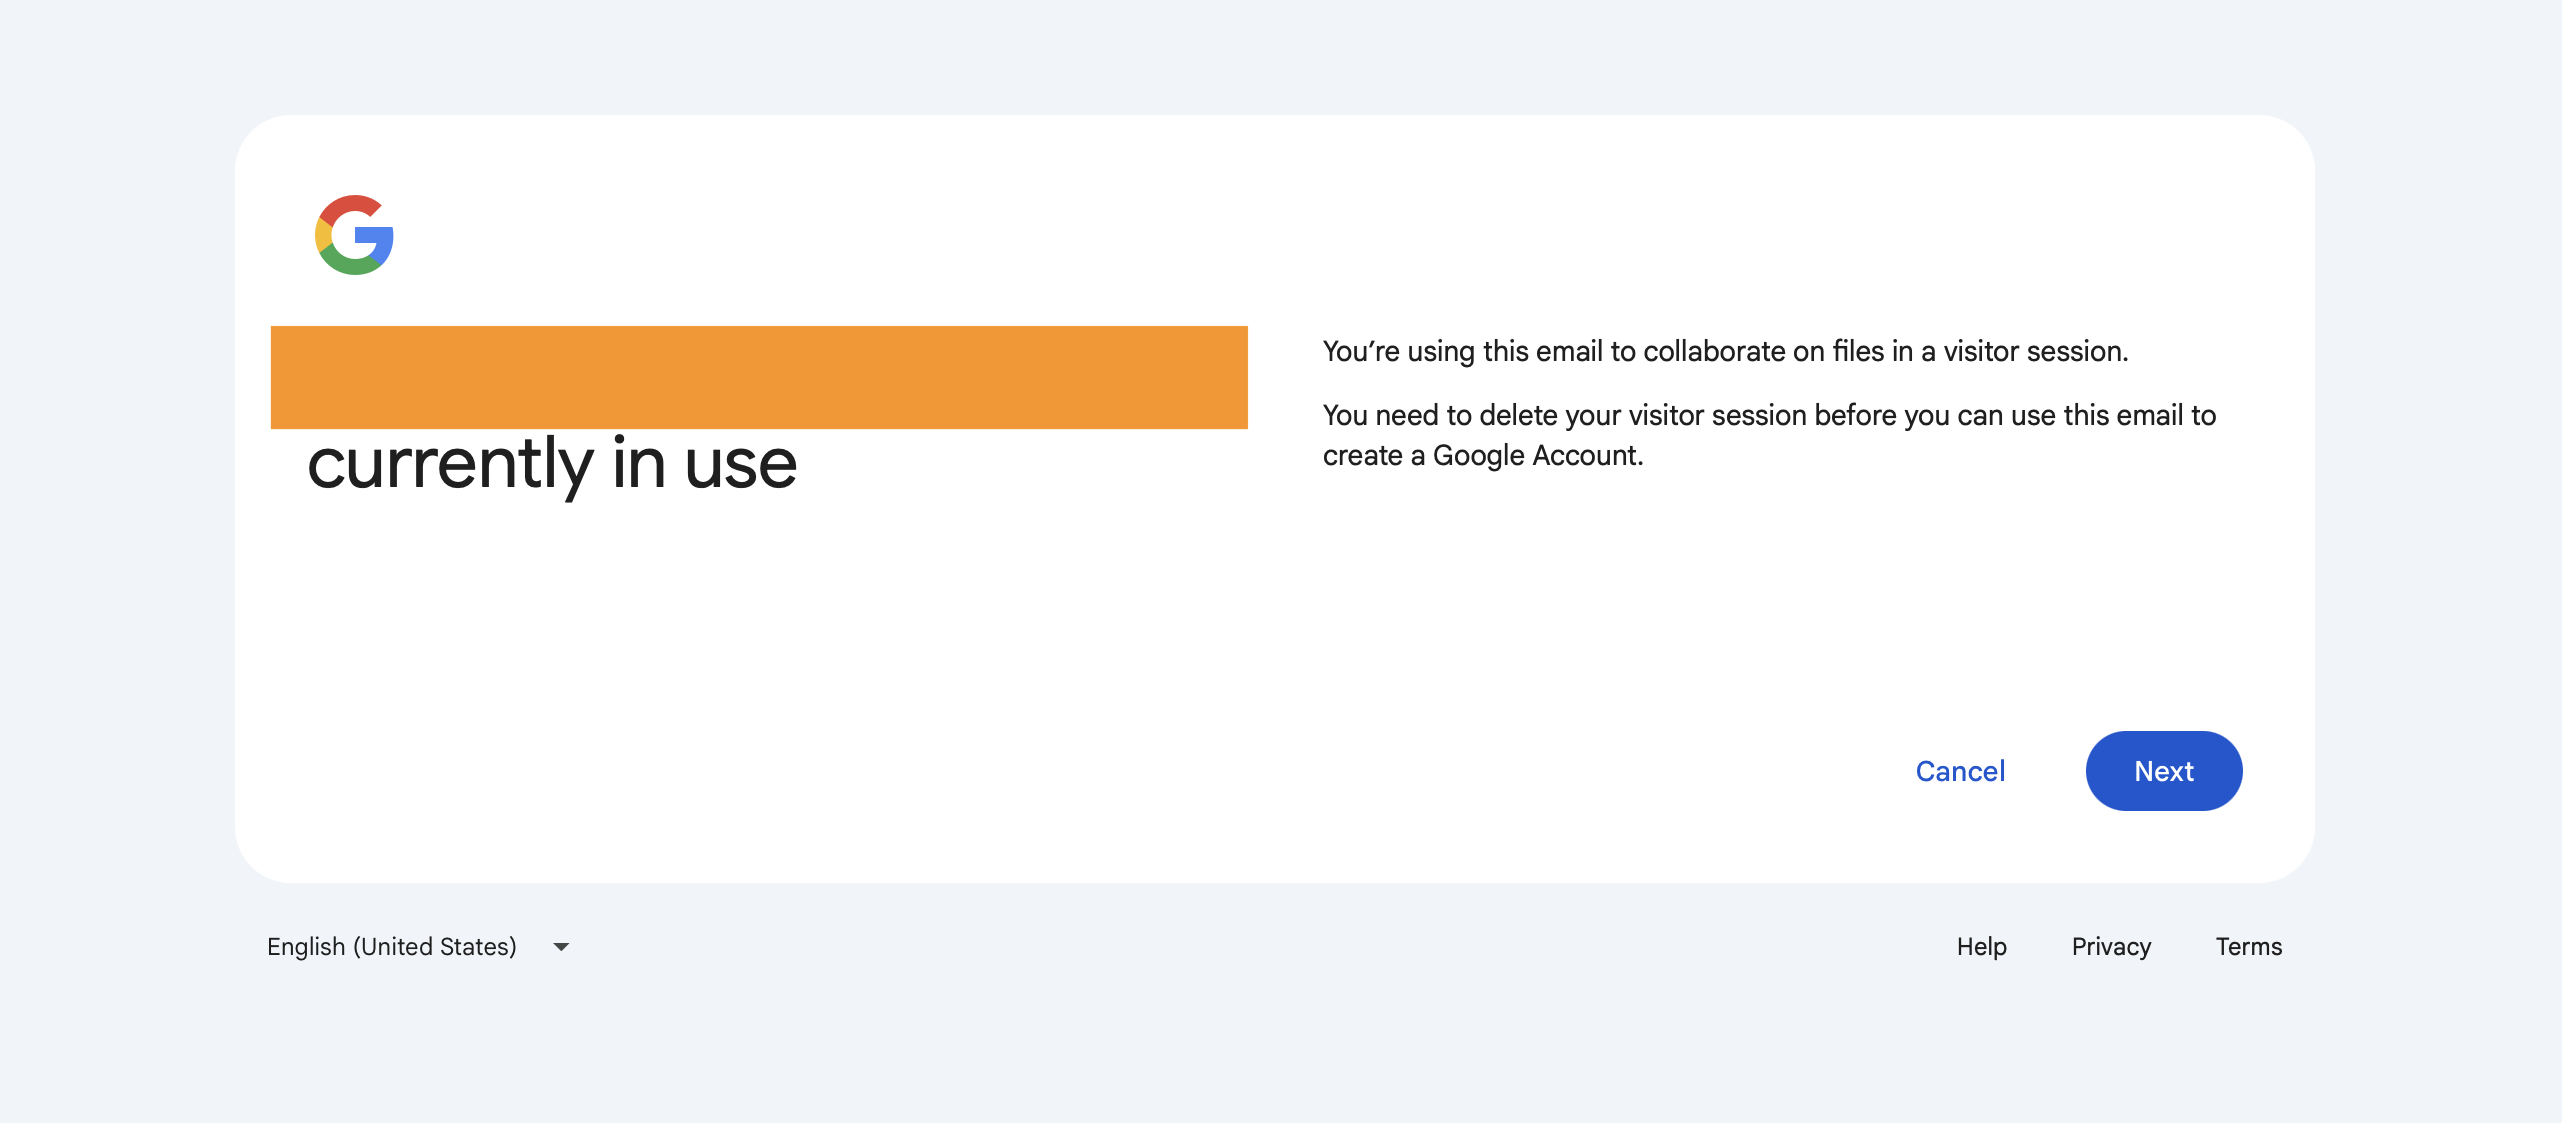
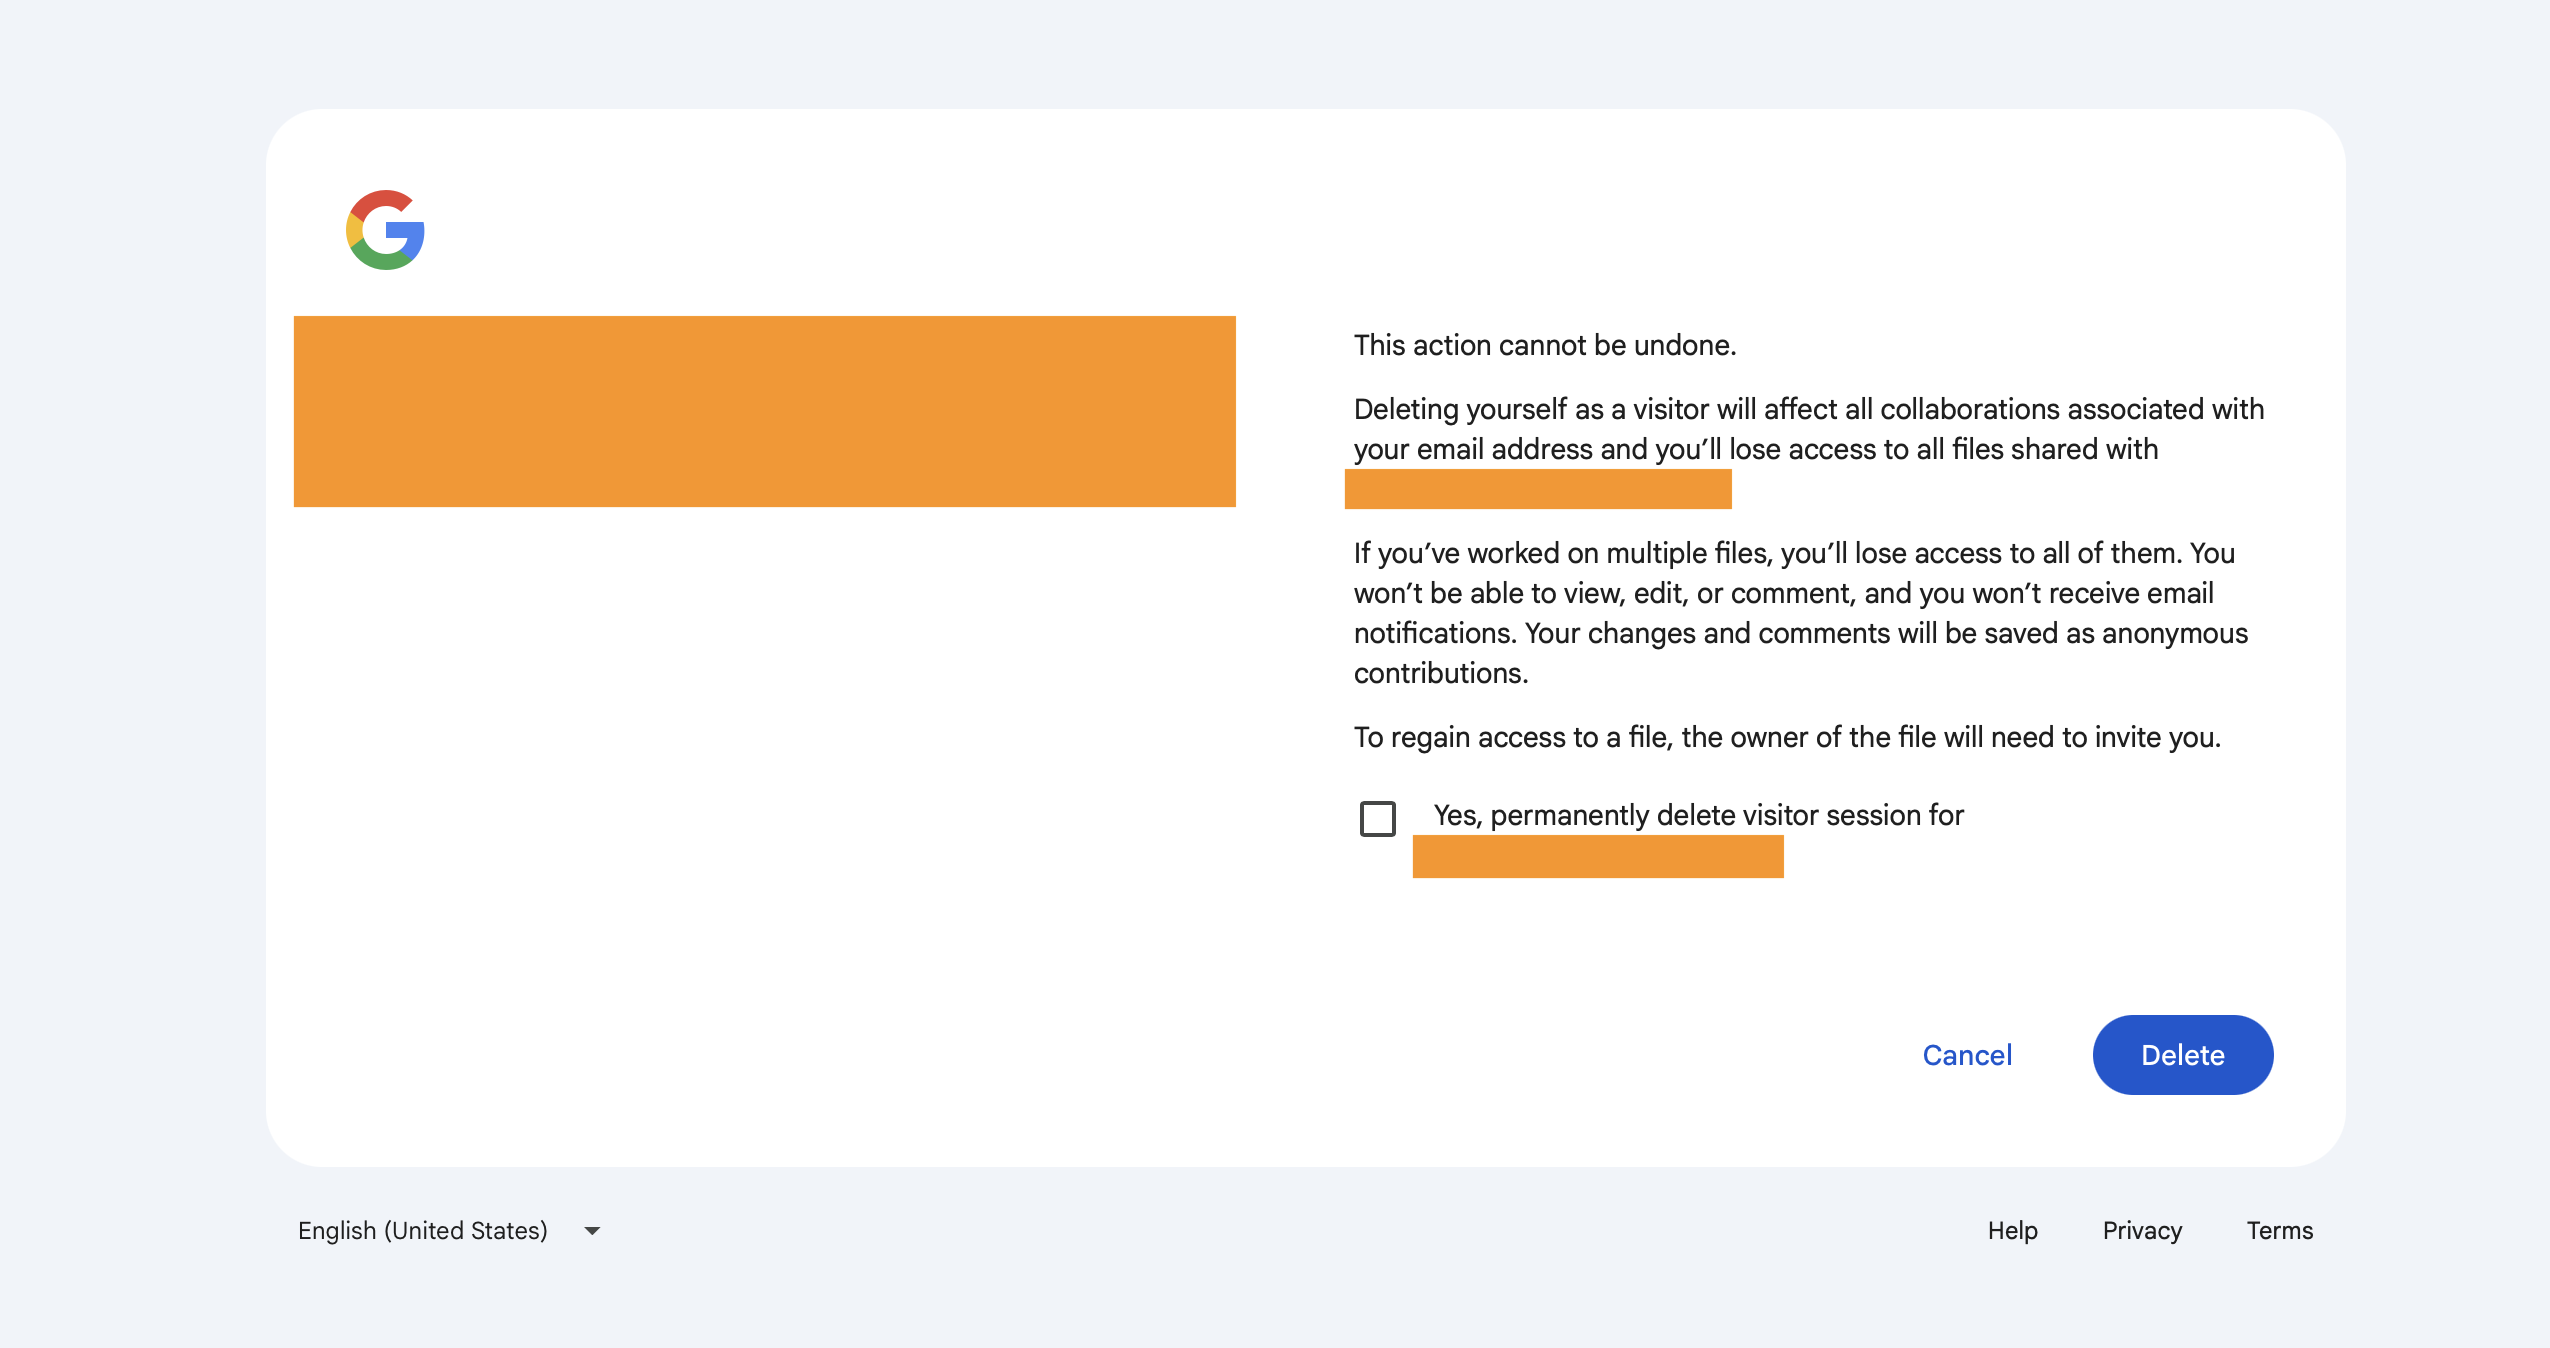
Step 5 (additional): Close any visitor sessions
Since this will be your first time linking your email address to a Google account, you may be notified that your address is in use on a visitor session.
This means that if you’ve used your work address to view any Google Docs or complete any work, your current access will be revoked once you create your account.
To regain access, the document owners will need to re-add your email account. So, for any ongoing work, make sure to allow a bit of a time buffer for authorisation.
Quick tip
This may seem like a no-brainer but make sure that your account security is up to scratch. Use a strong password and enable two-factor authentication for any Google account you create, as it controls access to your linked services.
Need an extra hand?
Hopefully this quick crash-course guide tells you everything you’ll need to know, but if you need any assistance, drop us a line and we will be happy to help.